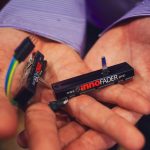
Over the past few years the Innofader has become a household requirement for any serious scratch DJ. It is one of the most accurate and powerful faders ever made and can be installed into almost any controller or mixer on the market. In an industry filled with Alpha faders that maybe last for a few months to a couple of years before they just start getting weird, the Innofader is a true powerhouse.
But, unfortunately, the Innofader Pro was kind of a complicated ordeal to install. It wasn’t as bad as other options but they didn’t always fit, and modifying them was a dangerous proposition for the end user. Two years ago Elliot showed us the Mini Innofader at NAMM and then we saw it popping up in controllers all over the industry: the Z2, the DIF-1S, VMS4, and more. But it was just for manufacturers to purchase and there was definitely a vocal clamor for anyone to be able to pick these up and use them in their controllers of choice.
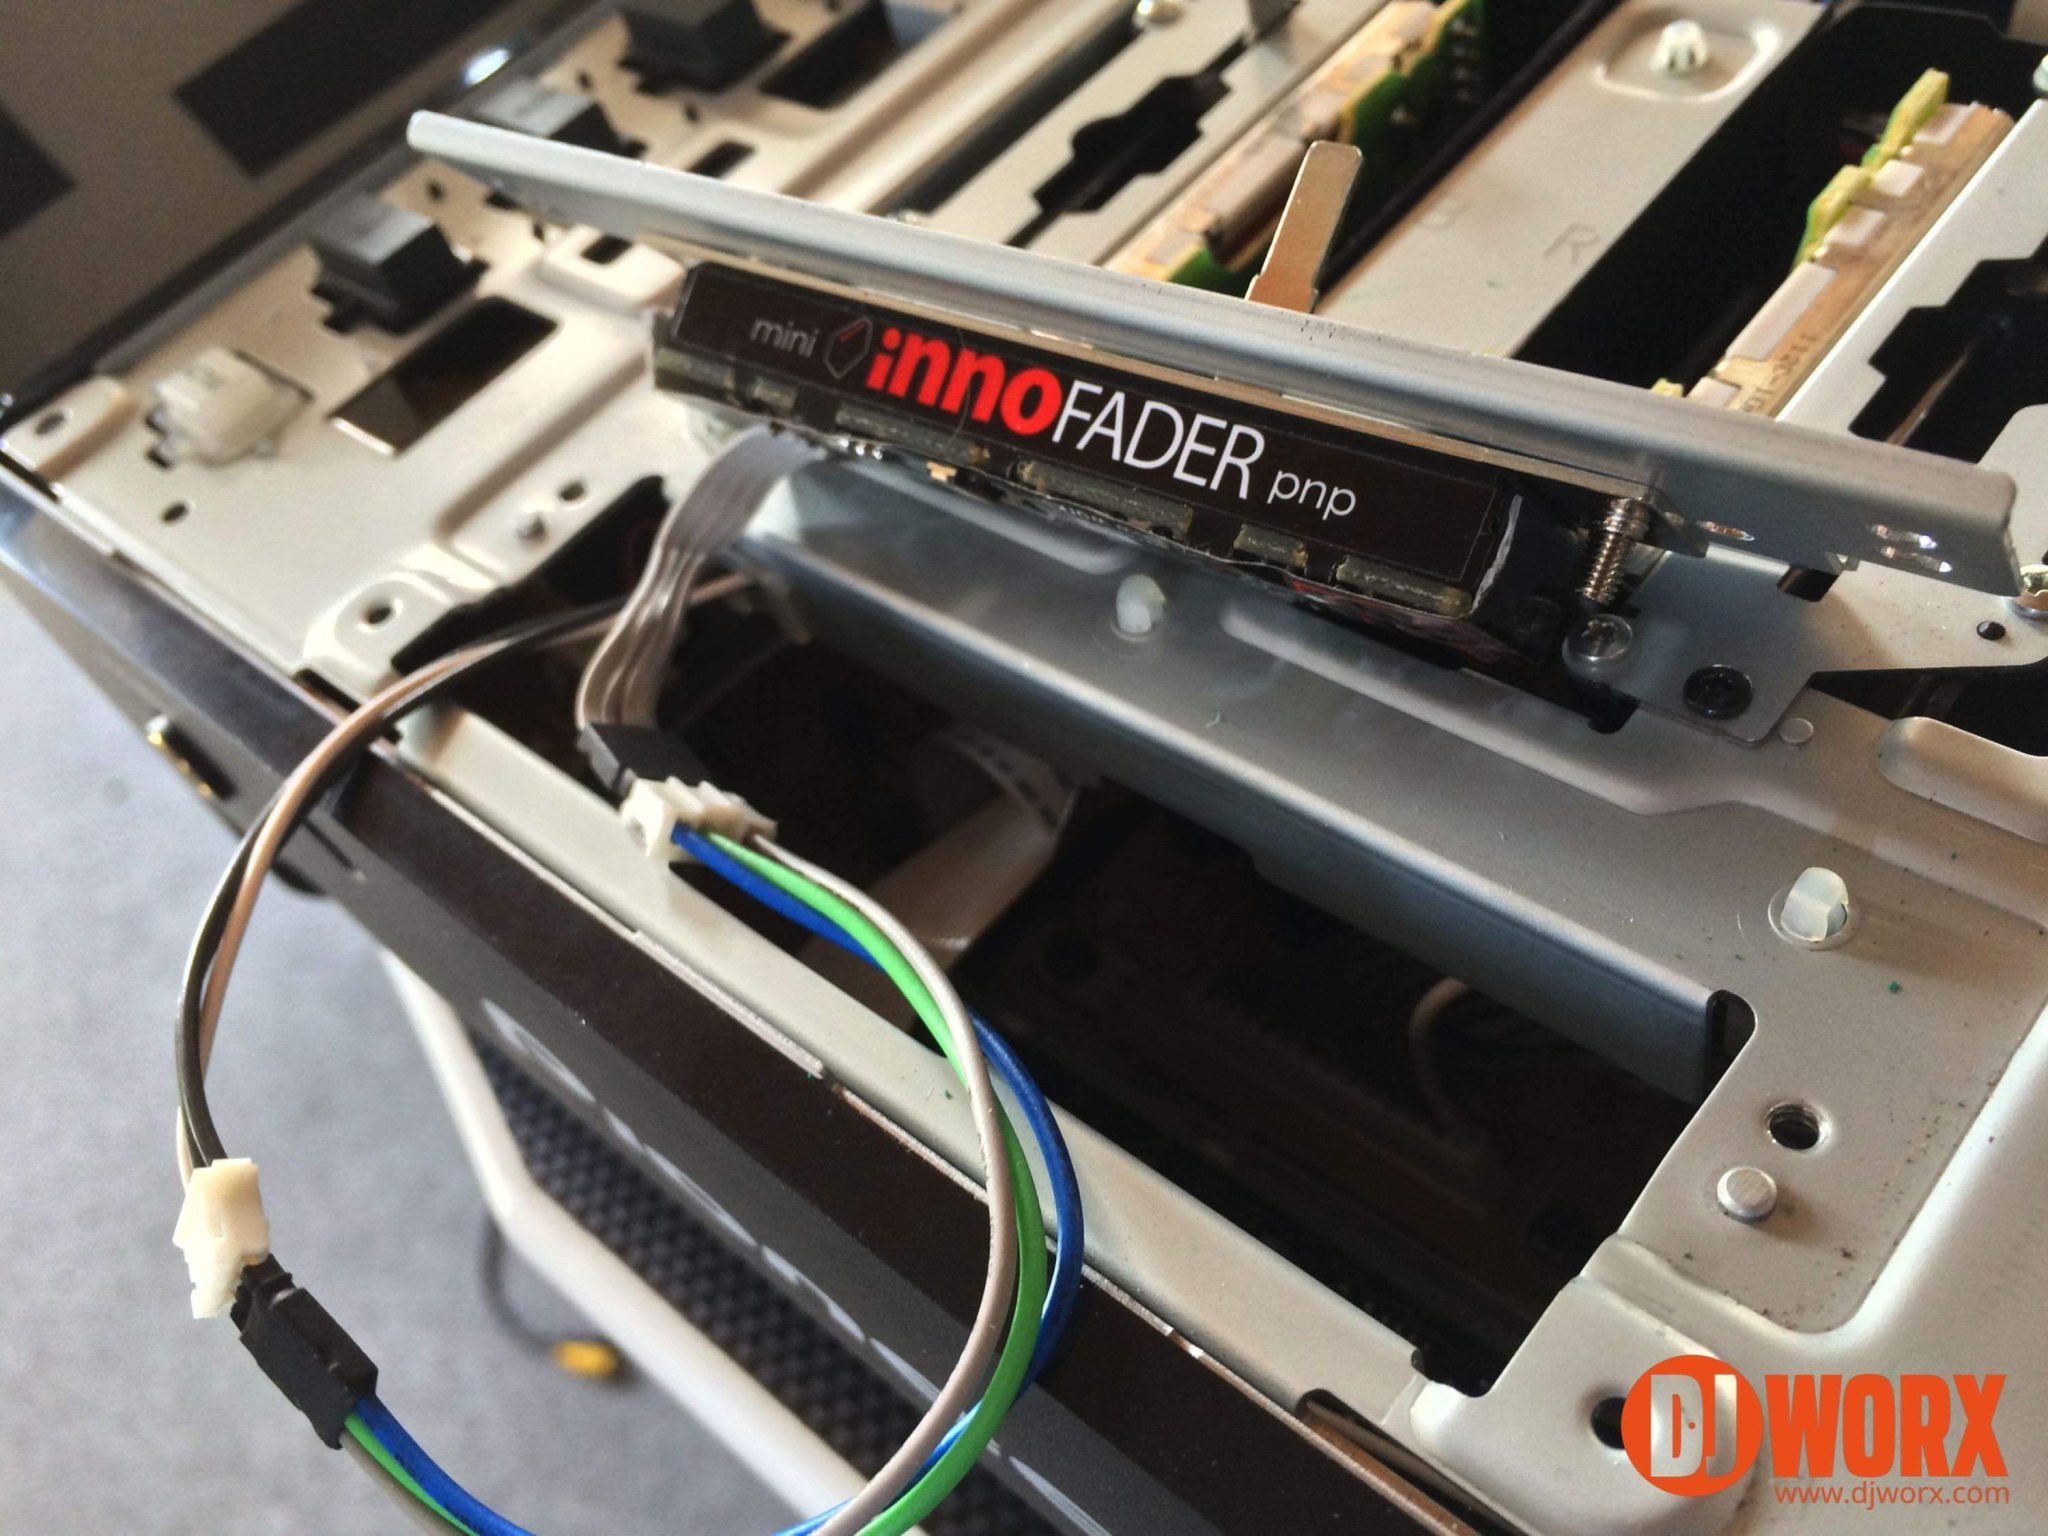
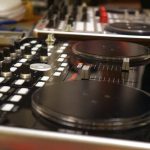
Welcome the Mini Innofader PnP (Plug ‘n Play) to the world. We sat down with Elliot Marx and tore open a few controllers to see just how easy it is to get this little thing into the controllers. Our focus was on the Vestax VCI-400 and the Pioneer DDJ-SX. Then we had the very talented Zo come by and throw down some scratches to give us a feel for how much better it felt.
DISCLAIMER IN BIG FAT LETTERS
Before we get started, I need to stress a few disclaimers. This will require you to open up your controller which can void the warranty. It will also require you to expose electronics so make sure you do this in a secure and clean environment. You aren’t going to need to solder anything for these two examples, but there are situations where you will need to which we will get to later.
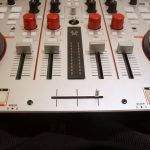
Vestax VCI-400
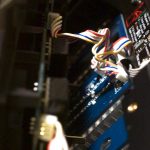
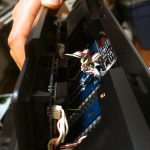
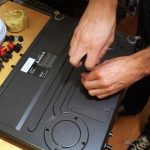
Opening this controller up was really easy. We disconnected everything, set it all aside, opened up the controller… and then realized that we completely wasted our time. The VCI-400 has this convenient little door in the bottom to access the volume faders and the crossfader, and instead of being smart we just got excited by opening all the things. So once we closed I back up and opened up the correct door, then we were in business.
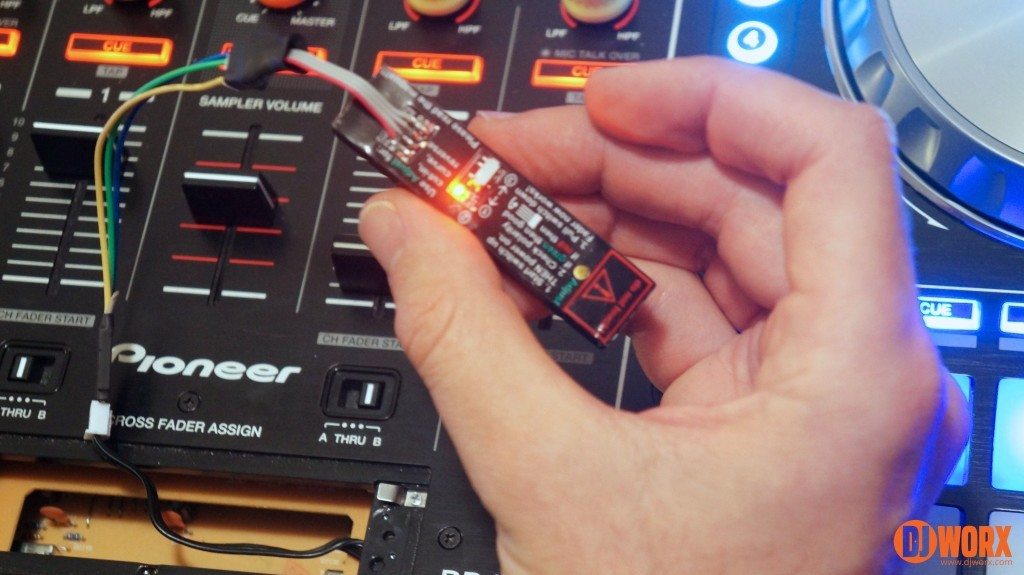
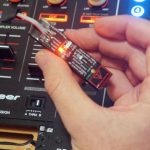
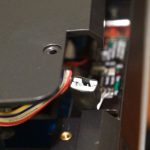
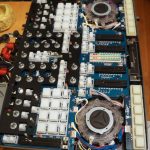
Accessing the fader is a little bit of a chore, mainly because Vestax lays the cables out in a very frustrating way, but once you get into it, it is as easy as unplugging the old crossfader and plugging in the new one using the Innofader’s connection kit. Now, when you do this you need to make sure you plug it in the correct way. Once it is connected, turn the unit on. If it is connected correctly the Innofader will light up green, if not it will be red. If it is red then the connector is in upside down. Just turn off the controller and plug it back in right-side-up and when you turn the unit back on it should be green.
Screw the fader back onto the mount and screw the mount back into the 400. Please note, though, that the mount at this point was just a few millimeters off, so while it could be connected we had to struggle a little to get the screws to fit. Now you need to make sure everything is in place and, I cannot stress enough, carefully place the fader board and cables back into the casing. You don’t want to damage the cables when you do this, but you need to get everything to sit comfortably so the casing closes. The fader sits a little high, but there will be a cap included which will be designed to sit closer to the body specifically to address this issue. If you are interested in soldering as well, all of the channel faders are compatible with the Mini Innofader as well, so if you want you can have a controller of nothing but Innofaders.
Pioneer DDJ-SX
This time, when we approached the DDJ-SX we were actually thinking about what we needed to do. Thankfully, Serato provides a simple fader board that you can access from the top of the unit. Just unscrew the fader, remove it from the body, remove it from the bracket and screw in the fader in its place. We augmented it with some included washers to fit properly. The washers are very easy to add in. You peel off the sticky backing and affix them to the Innofader, and place the bracket on top of it. This gets it to sit lower when the fader sticks out, and when you use the Innofader Cap it will ride over the body exactly where you need.
Once again, when you connect the Innofader to the board, make sure your unit is turned off. When you plug it in turn the controller back on and make sure it reads green. If it is red then turn off the controller, unplug the fader, turn the plug over and plug it back in. Then turn the controller back on. As long as it reads green then turn the controller back off, screw the fader back into the bracket, and then screw the bracket back into the controller.
Other controllers
Obviously we didn’t have all the time in the world to install faders into every controller, especially considering the sheer amount of awesome controllers Professor Bx has in his house. That being said, there are going to be a few more advanced options for controllers that don’t support plug and play, or for DJ mixers coming in the future, and we will try to provide as much information as we can to walk you through how to integrate the Mini Innofader into them. We don’t have pricing information yet but as it comes you will all, obviously, be told as quickly as possible.


