Link: RMX-500 | Price: $399/€399/£339 | Manual/downloads: Pioneer
Having just reviewed Pioneer’s flagship Remix Station, it’s time to look at its younger brother – the RMX-500. I can’t avoid referencing the RMX-1000 review here and there, so if you haven’t read that yet – check it out.
Although the RMX-500 is more limited than its predecessor, it still boasts some impressive features considering the price tag. Most notably, it has a built-in audio interface – a headphone connector with a dedicated volume control knob allows you to rehearse effects without connecting any additional gear. Unlike its big brother, it doesn’t have any detailed settings available via Remixbox – but it does come with a matching DAW plug-in. Before we dive into that, as always, we’ll start with the basics.
INTEGRATING THE RMX-500
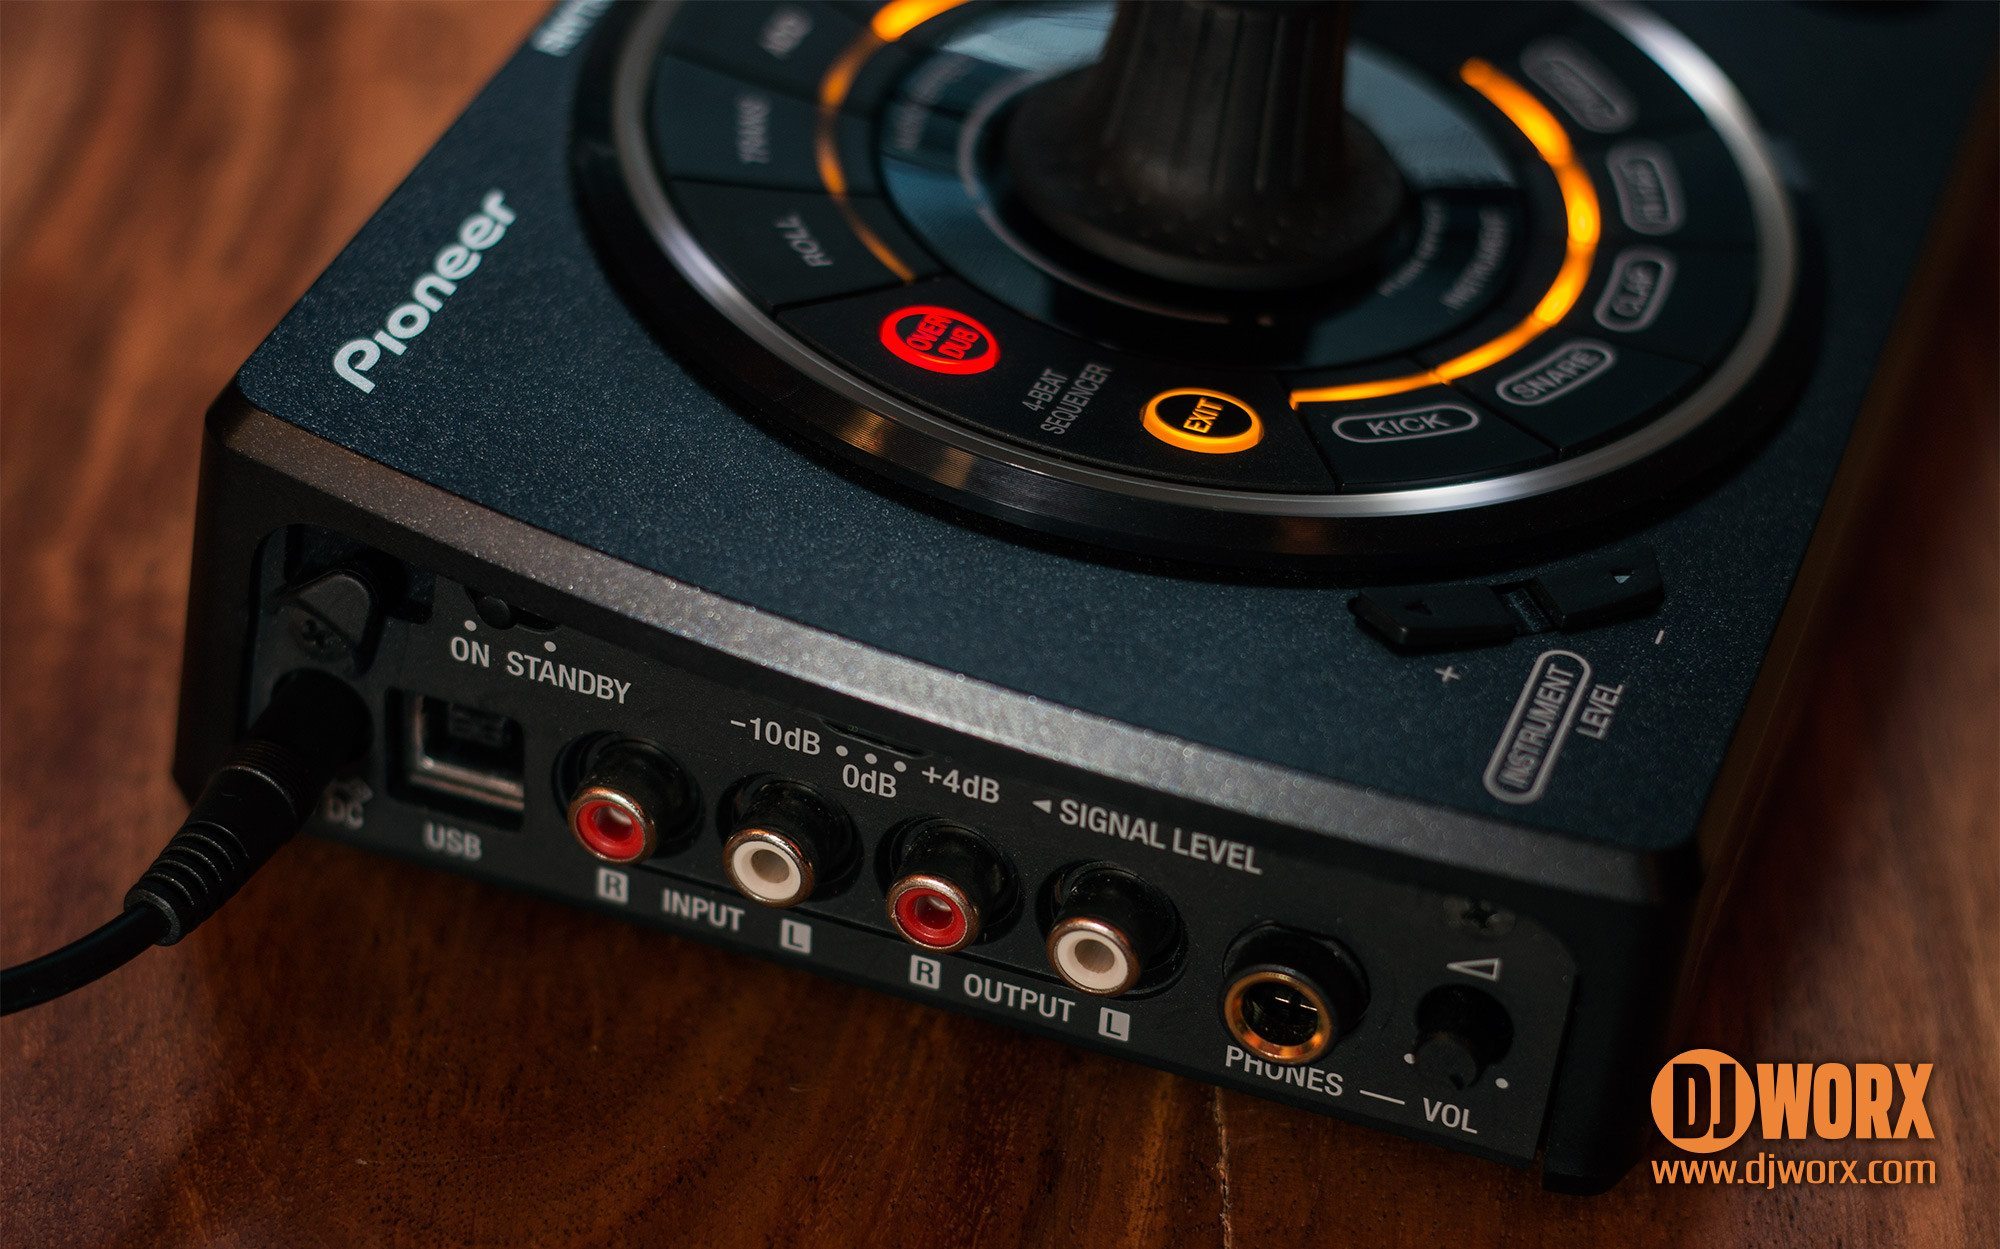
Unlike the RMX-1000, the RMX-500 only has one set of input/output connections which are standard stereo RCAs. A minor annoyance as most send/return configurations use 6.3mm jacks, but it’s just a matter of picking the right cable. There are three input/output gain presets (+4 dB, 0 dB, -10 dB) to suit most (if not all) mixer standards. All connectors are on the left side of the unit, which makes it easier to stack in a bigger setup. The unit has a USB port and, unlike its predecessor, can run on USB power. Instead of the RMX-1000’s detailed level meters and separate volume controls for input and output, the RMX-500 only has a pair of three-coloured level LEDs (green, orange, red) – also not much of a problem, as with the right gain setting there is no volume change when sound passes through the unit.
The BPM are handled in the same way they were on the RMX-1000 – as they say, don’t fix it if it ain’t broke. The BPM detection is just as good, handling standard material (straight 4/4 around 130 BPM) as well as uptempo and downtempo breakbeat. Of course, tempo detection always depends on clear transients – so don’t expect any miracles.
WORKING WITH THE EFFECTS
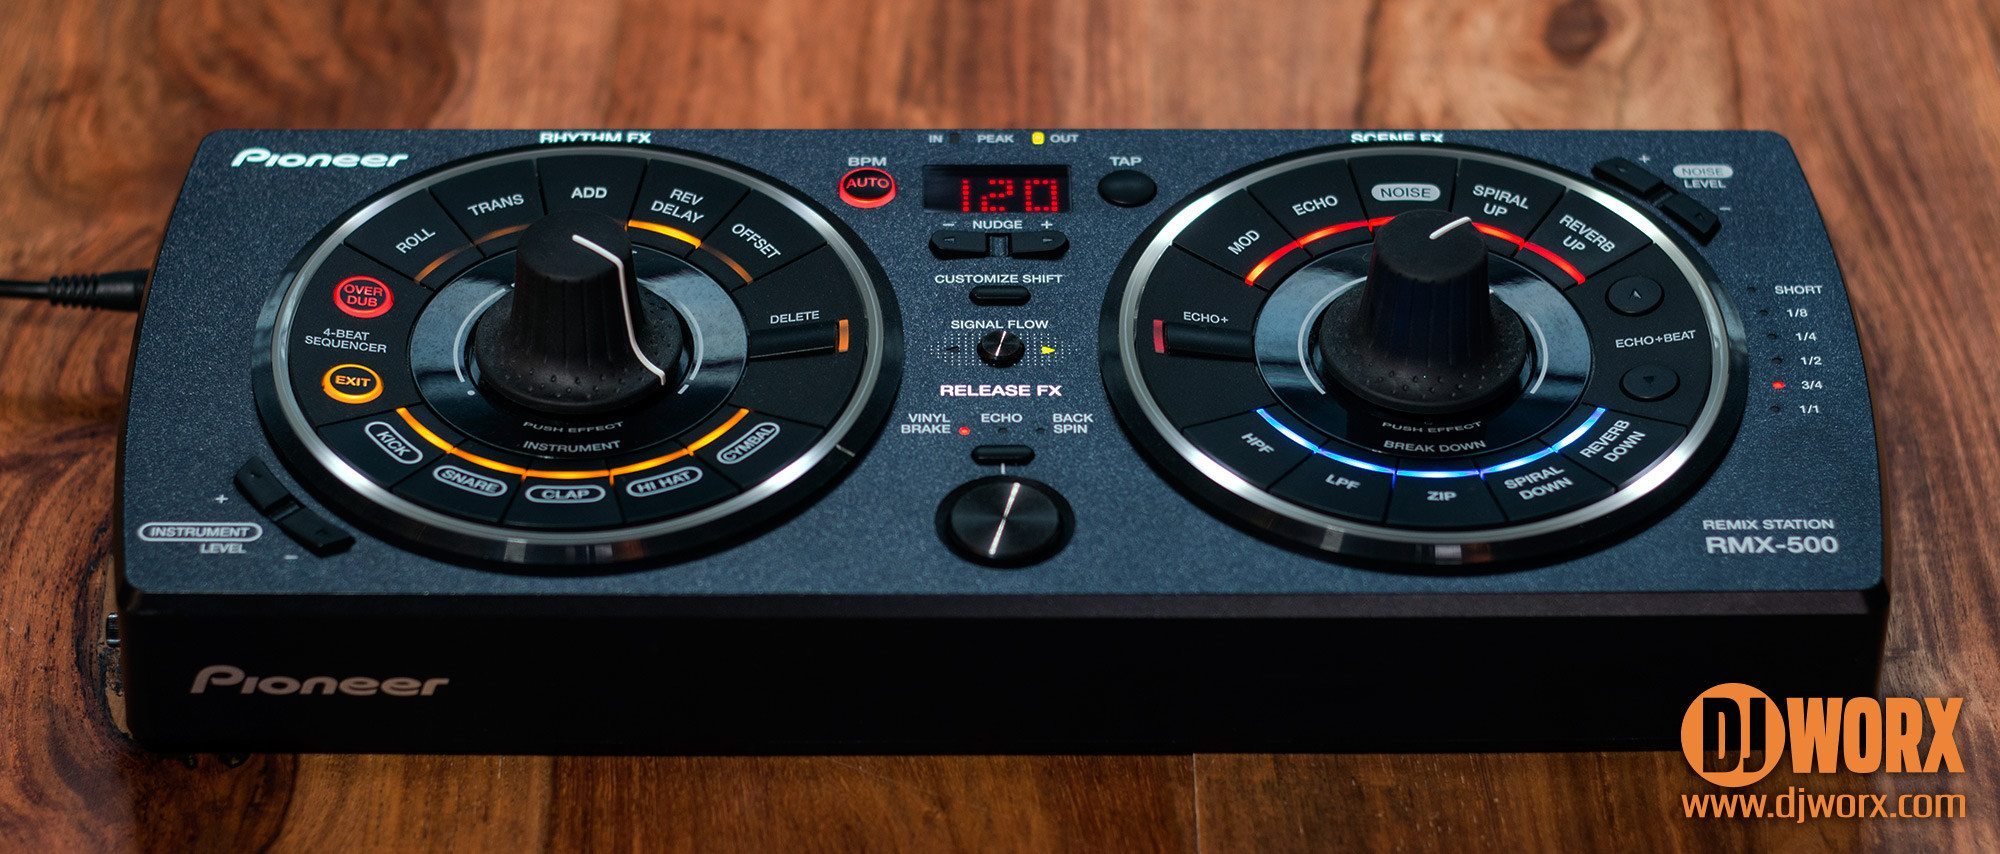
On the RMX-500, the signal flow is much easier to understand than on the RMX-1000. There are three sections: Rhythm FX, Scene FX and Release FX. A button with two arrow-shaped indicator LEDs located at the very center of the unit allows you to choose whether the input signal passes through Rhythm FX and then Scene FX or the other way around before it ends up in the Release FX. Although the effects aren’t as tweakable as on the RMX-1000, the RMX-500 has a “customize shift” button which allows you to choose several variations of an effect. Once you press it, the backlight of the unit changes to only show the customizable bits – and the BPM display provides feedback.
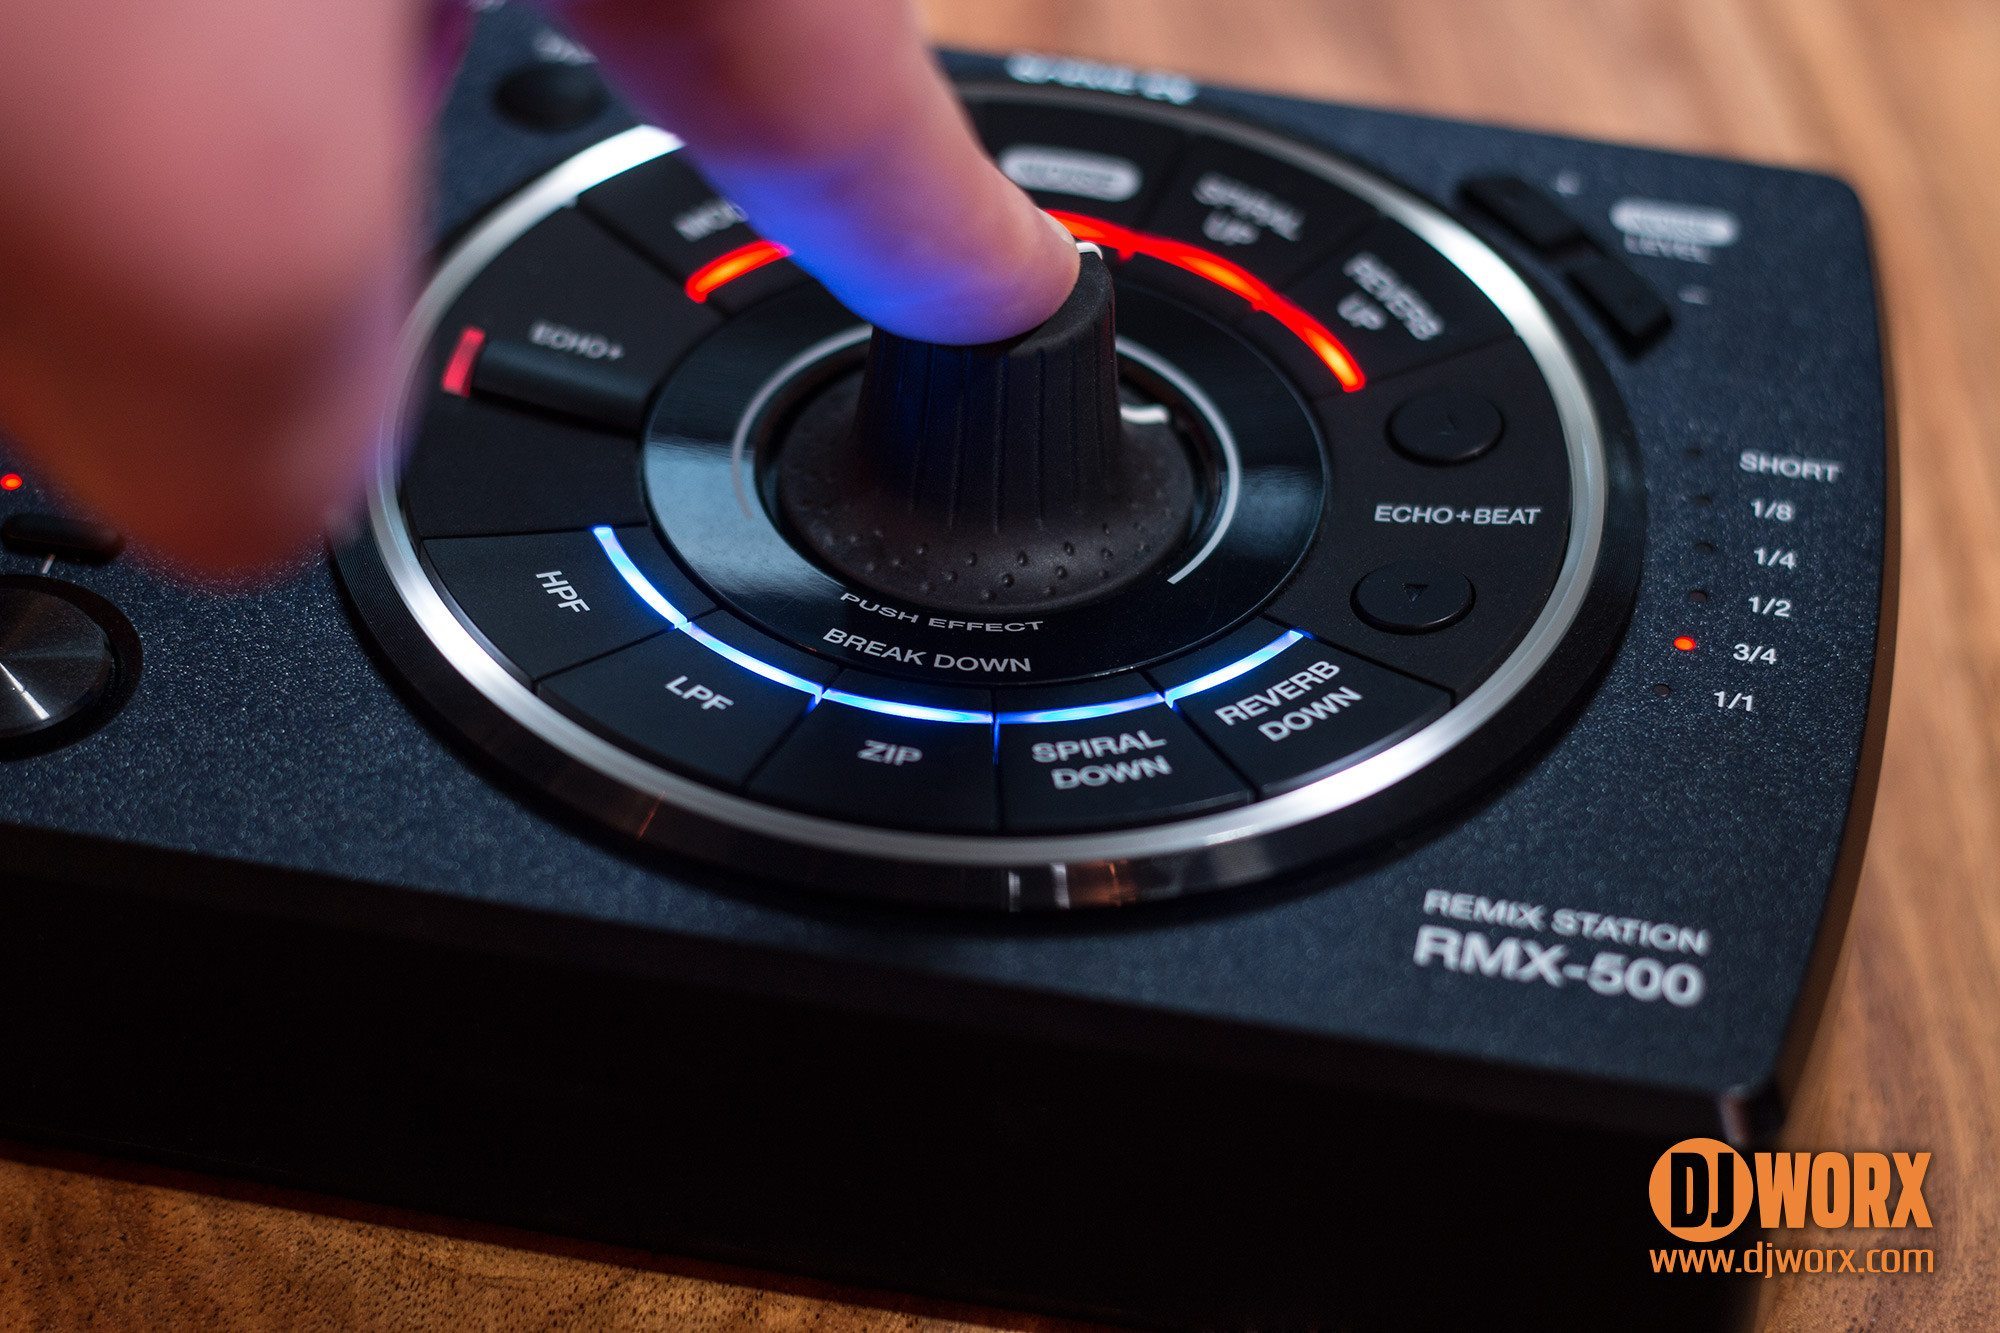
The Rhythm FX and Scene FX sections are almost symmetrical in design. They’re each built around a huge knob with ten trigger buttons arranged around it (divided vertically into two subsections of five) and three additional function buttons, plus two outside the circle. The knob has two axes (as in “axis”, sorry to disappoint any lumberjacks and/or vikings reading this) – turn it right to activate an effect and control it, push down on it to activate an additional LFO-based modulation source. The harder you push, the faster the modulation gets – there are 3 pressure levels.
The visual feedback provided by the RMX-500 is beautiful. Both circular effect sections are surrounded by backlit rings that blink in time with LFO-based modulations and the recording cycle of the sequencer we’ll look at in a bit. Every release effect is accompanied by a different (and fitting!) LED burst across the whole unit, and that visualization lasts exactly as long as the effect does (the RMX-1000 only has two bursts which both look the same except for their duration). This is a minor detail, but everyone loves eye candy.
The Rhythm FX section contains five tempo-synced effects: a loop roll, a transformer, a delay, a reverse delay and “offset” which is basically just a time-delayed loop roll. Nothing much to say here, the effects should be familiar to every DVS user – but reverse delay is definitely a welcome addition. Sadly, they come in one flavour only and cannot be customized – all you can do is trigger additional modulation by pushing down on the effect control knob.
Below, you will find five sample slots that each hold six preset variations of a kick, snare, clap, hi-hat and cymbal. As I mentioned earlier, the RMX-500 does not come with a Remixbox version (or rather, Remixbox only supports the RMX-1000), so there is no way to replace those. When you dig though the available options, you’ll find a selection of familiar sounds from some old-school drum machines. You’ll also find that there are duplicates in the hi-hat and cymbal variations (hi-hat 2 is the same as cymbal 3, hi-hat 4 is the same as cymbal 4 and hi-hat 6 is the same as cymbal 5) – but that’s tolerable as those are similar sounds you may want to combine anyway, and a classic 808 cowbell hidden behind cymbal 6 makes up for it. The overall volume of the samples is controlled with the two “+/-” buttons right outside the Rhythm FX circle.
By default, the samples are not playable directly without quantisation. You have to select one at a time and turn up the effect knob to have it triggered in sync with the unit’s BPM. The speed increases the further you turn the knob – for faster repetitions, push down on the knob. That seems a little too simple, but while playing with the unit, I’ve figured out a workaround which requires you to use the internal sequencer.
The RMX-1000 has a similar feature – you can record a 1-bar loop of all the actions you perform in the X-Pad section. This feature has been reworked on the RMX-500 – for one, the “customize shift” button allows you to choose whether you want to capture a 1-bar or a 2-bar loop. The sequencer also captures any use of the five effects, and you can remove individual parts from the captured material by using the “delete” button. Hitting the “overdub” button turns on the sequencer – hitting it again stops recording, but keeps the loop going. So if you want to trigger samples freely or mess around with effects without them getting recorded, just hit “overdub” twice and fire away. In this mode, however, the samples only play as long as you’re actually holding down the corresponding button – so a sample with a long tail will get cut off if you release your finger prematurely. The samples are also still quantized, but at least you can trigger them separately and play actual beats rather than re-trigger one sample at a time. However, quantization is a double-edged sword: it also means that tapping halftime BPM manually to extend the loop to a total of 4 bars is useless because the quantisation will also get halved. You can use this trick to record longer effect combos though, if you think it’s worth the trouble.
Just like on the RMX-1000, the Scene FX are divided into five build-up and five breakdown effects. The effects, however, are different and each of them comes in two flavours (except the noise generator, which has four) accessible via the “customize shift” buttons. In the build-up section, the “Mod” effect holds a flanger and a phaser (I’m really tired of those, but hey), the “Echo” holds two pretty similar delays. “Noise” holds four different types of swelling sounds – similar to the samples, the volume of those is controlled with two “+/-” buttons right outside the Scene FX circle. Then there are the “Spiral Up” and “Reverb Up” effects we’ve seen on the RMX-1000 – although in my opinion those sound a little better than the RMX-1000 defaults.
In the breakdown section, there is a high-pass and a low-pass filter which each have a bit-crushed version on the second “custom shift” layer. The pitch shifter effect “Zip” is back – layer one pitches down, layer two pitches up. This is fun with vocals and drums. Finally, there are the “Spiral Down” and “Reverb Down” effects, also taken straight from the RMX-1000 and also sounding a little better than its defaults. The Scene FX section doesn’t have a sequencer – instead, there’s an echo effect with several basic timing presets that can be appended to any of the Scene FX. However, switching between effects kills any audible effect tails (sadly, just like on the RMX-1000) so adding an even longer tail may not be the best of ideas.
The Release FX – vinyl brake, echo and backspin – are the exact same as on the RMX-1000, but they only come with a single button instead of a flip switch that triggers different effect speeds depending on how hard you push it. However, each release effect can have a different duration setting, so in my opinion this is actually better than trying to apply the right amount of pressure to a switch.
THE DAW PLUG-IN
As with the RMX-1000, the RMX-500 DAW plug-in is dead easy to install. You’re required to connect the unit once when installing though, so you can’t just download and use it for free without owning the hardware. Once activated, the plug-in mirrors the functions of the unit exactly. Well, not exactly – if you want the plug-in to trigger the same samples that you’re using on the hardware, you’ll have to pick them out manually – those don’t synchronize. Maybe that will be improved in a future update, but it’s a minor issue at best. You can instatiate as many virtual RMX-500s as your computer can handle, so if you really need those samples in a production/live environment… all I’m trying to say is, there are ways for the really determined, but they don’t always make a lot of sense.
One thing that’s been done really well is the emulation of the “customize shift” button – this brings up a tabbed menu that allows you to access all available effect parameters from one screen. With the unit connected, you can activate hardware link to control the plug-in – and going between instances is exactly the same as with the RMX-1000 plug-in. The link is exclusive and the controls go into soft pickup mode, so there are no unexpected parameter jumps. I’ll say what I’ve said about controlling the RMX-1000 plug-in: rather than use the RMX-500 as a controller, make your own macro racks and work with something like an APC instead. This will free up the hardware to be used elsewhere. All things considered, this is a pretty good, however basic, effect plug-in.
THE AUDIO INTERFACE
When rehearsing effects on the unit in standalone mode, everything works and sounds just fine. However, when using the RMX-500 as an audio interface, I’ve found that things can get a little hairy. For reference: my Rane Sixty-Four runs at a latency of 96 samples with a sample rate of 48 kHz absolutely flawlessly (if you don’t know what I’m talking about here, let’s just say it’s insanely fast and sounds really good), but with the RMX-500 I’ve had to bump the latency up to 512 samples (also at 48 kHz), and even then I got the occasional drop-out. Since this just can’t happen on my machines, I’ve looked at the setup and realized the RMX-500 was connected to a USB 3.0 port – and this turned out to be the culprit. After switching to a USB 2.0 port, everything worked just fine even on low latency settings. For the record, I can’t test this on OSX because I don’t have a macbook that would have USB 3.0 ports.
Funnily enough, I mentioned this exact issue in the RMX-1000 review too (though the RMX-1000 doesn’t have that problem, probably because it’s just a controller). While USB 3.0 ports should be backwards compatible, not all audio equipment wants to play nice, and the RMX-500 seems to be an example of this. The unit is currently at firmware version 1.08 which is the most recent, so maybe this too will be fixed in the future. For the time being, stick to USB 2.0 ports if you want to use the audio interface with your computer. USB 3.0 is perfectly fine if you just want to control the DAW plug-in.
All that being said, I’ve yet to find a single real-world purpose for an audio interface that has a single RCA stereo out and a headphone out that can only mirror the input or output. Putting that in DJ terms, even if you were to use a controller for mixing and the RMX-500 as an audio interface, there would be no way to PFL with it. You could probably use it to perform a simple live set and control the plug-in with it at the same time, but in any setup more complex than that, the audio interface is completely useless except for standalone effect practice.
VERDICT
I’m pretty sure I’m at least a little biased here – but no matter how you look at it, this is no RMX-1000. However, it doesn’t try to be. It’s more like an updated EFX-1000 – ridiculously easy to grasp and does the basic stuff well enough. However, controlling the additional modulation by pushing down on the effect knobs requires a little practice to get a feel for it. The sequencer could be a little better (at least have a button that toggles quantization!), some of the issues the RMX-1000 had could’ve been fixed but weren’t (like the lack of wet/dry controls – the old EFX units had those, bring them back!) – but overall, it’s really OK considering the price tag. I love the reverse delay, the spiral delays and reverbs, the vinyl brake and backspin effects – and of course, the pitch shifter.
There’s no denying that full-on nerds like me will likely get bored with this unit eventually – but sometimes, it’s the simple things that work best. You can chain 12 effects in Traktor, but will it make your set stand out that much more? Probably not. If you’re trying to get used to working with hardware effects and want something simple yet surprisingly effective, I’d recommend you at least give the RMX-500 a try.
PRO
Internal audio interface
Runs on USB power
Easy-to-use controls
Simple, but useful effects
Matching DAW plug-in included
CON
No wet/dry controls
Forced quantization of sample playback
Limited effect variations compared to the RMX-1000
Minor issues with USB 3.0 ports


I’ve been waiting for this review for a while. Thanks for coming thru DjWx. I’m with you on the wet/dry exclusion. Why would Pio remove a key feature on what’s supposed to be a technological better product than the EFX series? Overall good review though. Reviews are definitely you guys forte’.
Thank you sir. I forgot to mention that in the review, but when you use the RMX plug-in, you can achieve wet/dry quite easily using an effects rack.
Thanks for doing this review. I’ve contemplated trading or selling my RMX-1000 for this unit due to size and portability. Good to know the in depth features on this unit.
You’re welcome! I wanted to give this one a thorough go for a long time, and I really enjoyed it. I’d choose it over the EFX-1000 any day.
I’m just switching my RMX1000 to this because I find it way more fun and straightforward to play with.
Regarding the lack of dry/wet, this is probably always used in a send/return situation and mixers like the DJM900 or the MP2015 already have a dry/wet knob for that exact reason.